By : Juhi Bansal
Hello Gorgeous people, how goes it!
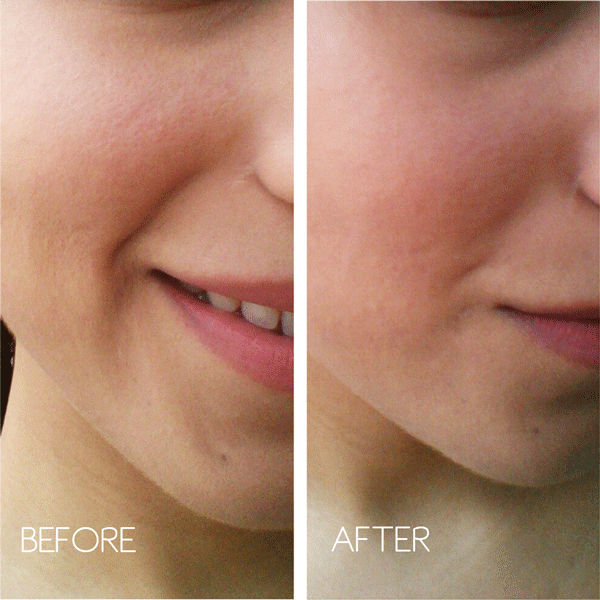
CB gets a lot of queries on makeup application. So, we decided to start with the most important of all-lipstick! These are some DIY steps for a gorgeous effect. The right application can brighten up your drab outfit as well as light up your gloomy day.
So here goes-
1. Exfoliate. This will help get rid of all the dead skin on your lips and they’ll feel softer. Do this before wearing bright shades if not always. You can try the lip scuff from Body Shop or the lip scrub from Lush or make some yourself at home using honey, lemon juice and sugar. If you are feeling too lazy use a washcloth.
2. Moisturize. Once you’ve exfoliated and your lips feel smoother, apply some good old Vaseline, olive oil or lip balm to soften your lips.
3. Prime. Use a lip primer to even out the color of your lips. This also acts as a base and will help the lipstick last longer. Use the Lip Primer from M.A.C. Even a dab of foundation works well.
4. Outline. This is a controversial step. While a lot of people prefer a lip liner which is a shade darker than their lipstick, I feel it is too 90s and soapopera-ish! The purpose of a lip liner is to give a subtle outline to the lip so that when you are filling in the color, you know your boundaries, so to say. So, I prefer a neutral lip liner but, I‘ll let you be the best judge of that.
5. Filling in. Now comes my favourite step! Use a brush to fill in the color rather than using the stick as a whole to avoid bleeding at the corners. Start from the centre of the lips working outwards.
6. Blot. To avoid smudging, use a tissue paper to blot all the extra color and reapply. Also, insert a finger inside your mouth and withdraw it slowly to avoid staining the lips.
7. Gloss. Optional step. Do it if your lipstick is matte or you want to look glitzy for an evening out!
And you are all set! Coming up soon, lipstick etiquette!
Stay Gorgeous xx


No Comments